Your Complete Guide to Conch Piercings
First, a conch piercing is a unique ear decoration. It sits in the central cartilage of your ear, an area shaped like a conch shell. People choose this piercing to express their personal style with various types of jewelry.
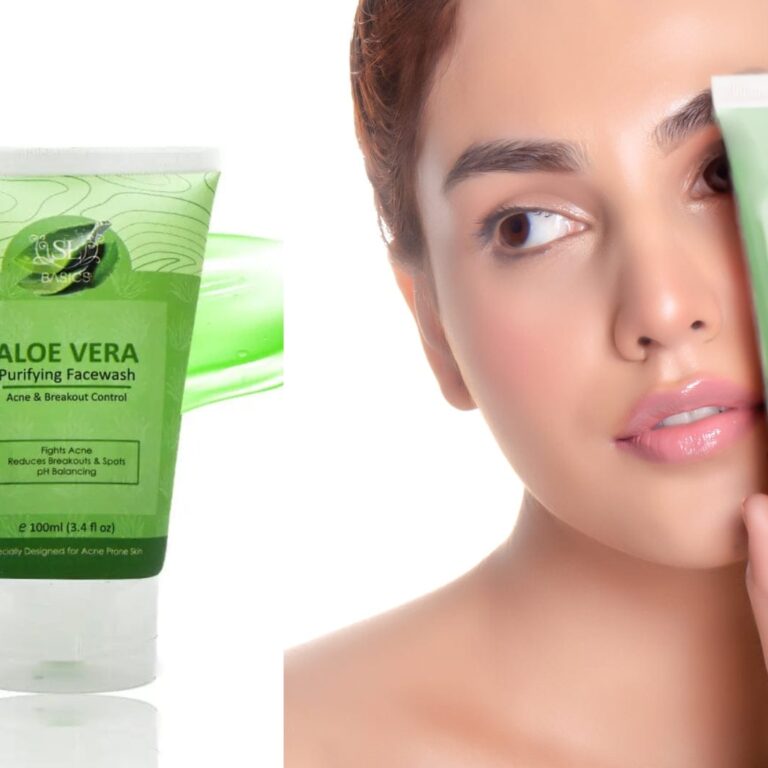
Next, studies show cartilage piercings require special attention. Expect more initial pain than a lobe piercing. Also, healing takes longer because cartilage has limited blood flow. Research confirms the infection risk is slightly higher. Experts recommend cleaning with a saline solution. They advise avoiding pools during the healing period.
Finally, you can achieve a stunning look with care. Choose a skilled piercer for a safe procedure. Select high-quality jewelry like implant-grade titanium or solid gold. Be patient through the healing process. Your beautiful, unique piercing will be the reward for your effort. Make your style statement today.
What is a Conch Piercing?
A conch piercing is placed in the cup-shaped area of your ear. This is the inner part of your ear’s cartilage. It is a versatile piercing. You can express your style with different jewelry. This piercing has gained a lot of popularity.
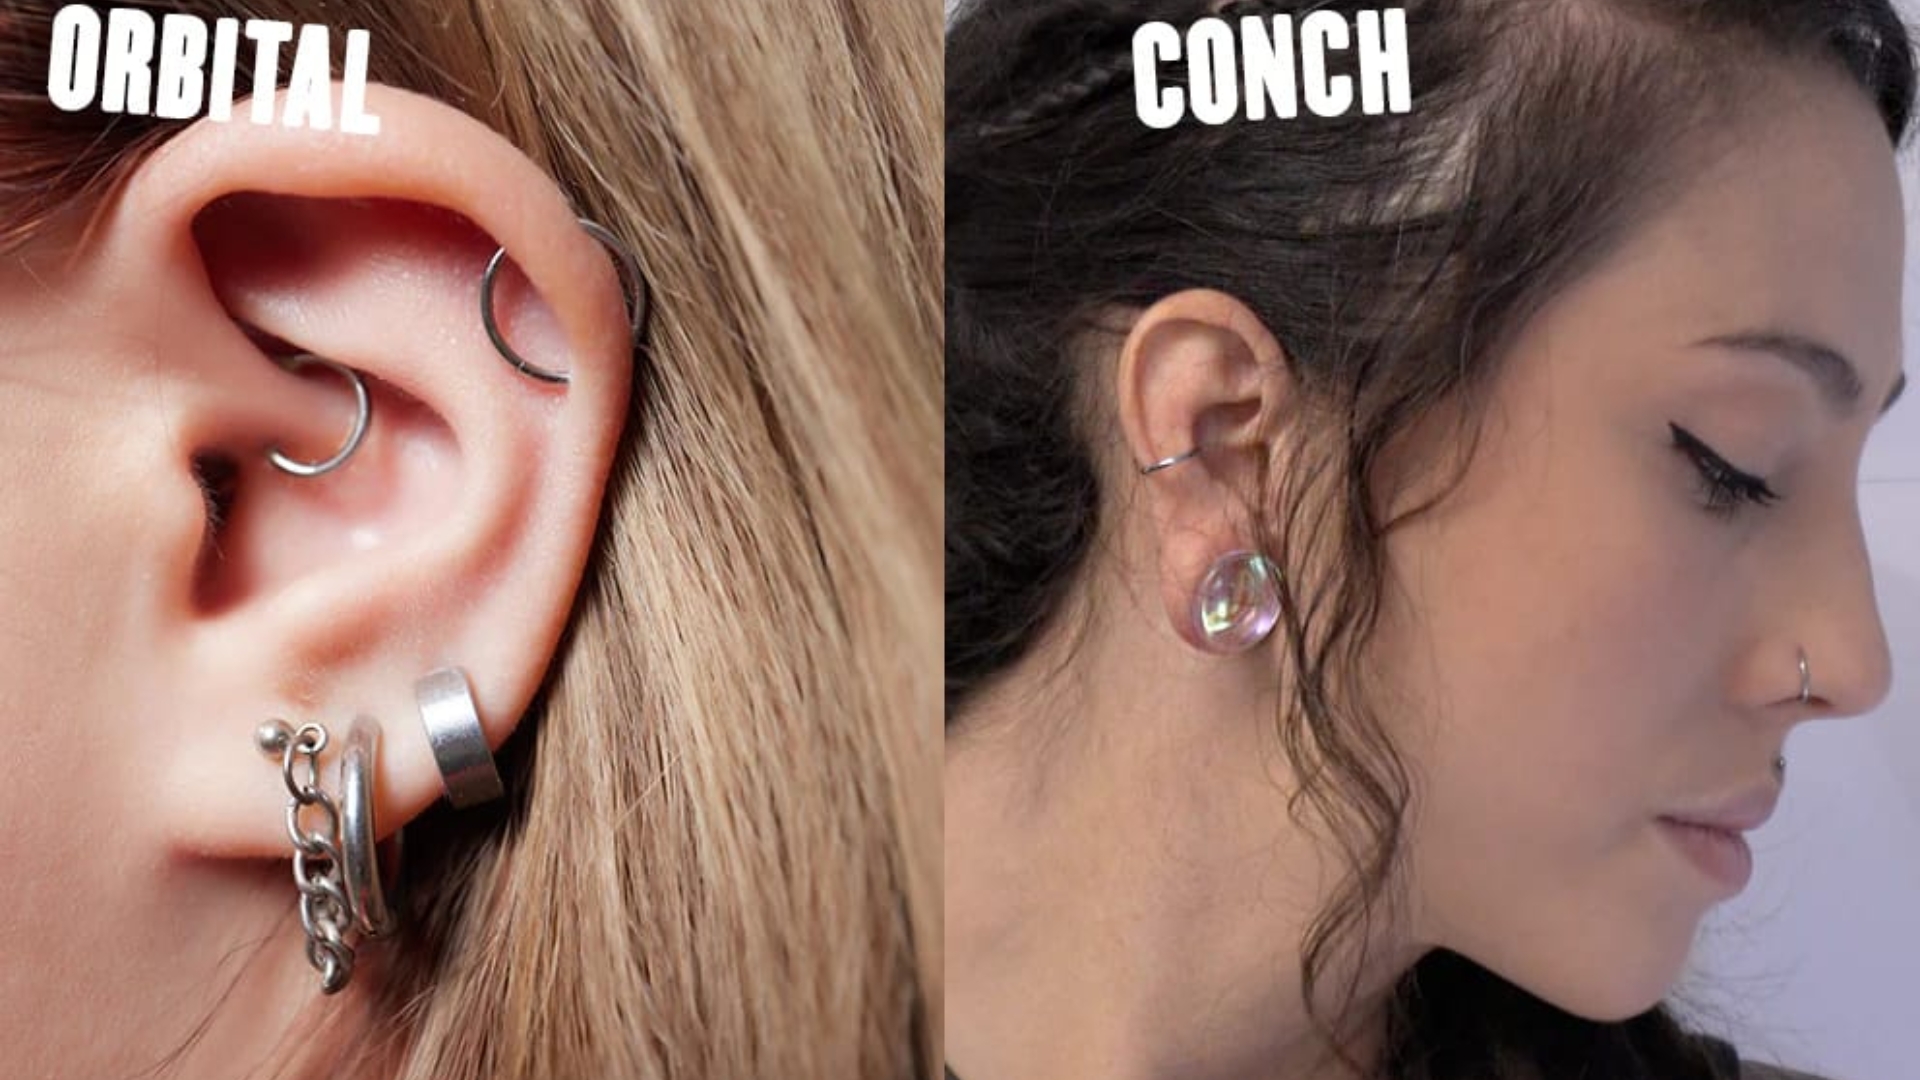
Inner Conch vs. Outer Conch
You have two main placement options for a conch piercing. Each offers a different look.
- Inner Conch Piercing: This piercing goes through the center cup of the cartilage. It is a very visible placement. It works well with a single, eye-catching stud. You can also wear a large hoop that wraps around the ear’s outer edge.
- Outer Conch Piercing: This piercing is located on the flat, outer portion of the ear’s cartilage. It sits between the helix and the antihelix. This spot is perfect for multiple studs. Hoops also look great in an outer conch placement.
Your ear anatomy will influence the best choice for you. A professional piercer can help you decide. They will assess your ear shape.
The Conch Piercing Procedure
Finding a licensed, reputable piercer is your first step. A clean, professional studio is essential for safety. Once you choose a piercer, the process is straightforward. There are two main methods used.
Needle Piercing
This is the most common method. The piercer will first clean your ear thoroughly. They will mark the entry and exit points. You get to approve the placement. Next, a sterilized, hollow needle creates the piercing. The piercer then inserts your chosen jewelry. The entire process takes only a few minutes.
Dermal Punch
A dermal punch is a less common option. It is used if you want to wear larger gauge jewelry immediately. This method uses a tool to remove a small circle of cartilage. It is like a tiny cookie cutter. A dermal punch can take longer to heal. It may also be more painful initially.
Does a Conch Piercing Hurt?
Pain is subjective. Everyone’s tolerance is different. A conch piercing involves going through thick cartilage. It will likely hurt more than an earlobe piercing. Most people report a sharp, intense pressure during the procedure. This lasts for only a moment.
After the piercing, you can expect a throbbing, warm sensation. This feeling may last for several hours or a few days. The area will be tendered. Sleeping on the piercing can cause sharp pain, especially in the first few months. The overall conch piercing pain level is manageable for most people.
Conch Piercing Healing and Timeline
Patience is crucial for conch piercing healing. Cartilage has limited blood flow. This means it heals more slowly than other tissues. A standard needle piercing typically takes six to nine months to heal fully. A dermal punch can take a year or more.
The piercing might look healed from the outside sooner. The inner tissue still needs time to strengthen. Do not change your jewelry until it is fully healed. Your piercer will tell you when it is safe. Rushing the process can lead to complications.
Proper Conch Piercing Aftercare
Diligent aftercare prevents infection. It promotes a smooth healing process. Always follow the specific instructions from your piercer.
Here are the essential aftercare steps:
- Clean your piercing twice a day.
- Wash your hands before touching the piercing area.
- Use a sterile saline solution. You can buy a wound wash spray.
- Spray the saline directly on the front and back of the piercing.
- Gently pat the area dry with a clean paper towel. Do not use cloth towels.
- Avoid rotating or moving the jewelry. This can irritate the healing tissue.
- Do not remove the initial jewelry. Leave it in for the entire healing period.
- Be careful with headphones, hats, and glasses.
- Avoid sleeping directly on your new piercing. A travel pillow can help.
- Keep hair products and makeup away from the area.
- Stay out of pools, hot tubs, and oceans during healing. These can harbor bacteria.
Choosing Your First Conch Jewelry
Your initial jewelry is very important. It must be made from a body-safe material. This helps prevent allergic reactions and irritation. A piercer will recommend starting with a bar-style piece.
Jewelry Materials
Choose high-quality, hypoallergenic metals.
- Implant-Grade Titanium: This is an excellent choice for sensitive skin. It is completely nickel-free.
- Surgical Stainless Steel: This option is safe for most people. It contains a small amount of nickel.
- 14k or 18k Solid Gold: Ensure it is solid gold, not gold-plated. Plating can wear off, exposing other metals.
- Niobium: This is another hypoallergenic metal. It is a good alternative to titanium.
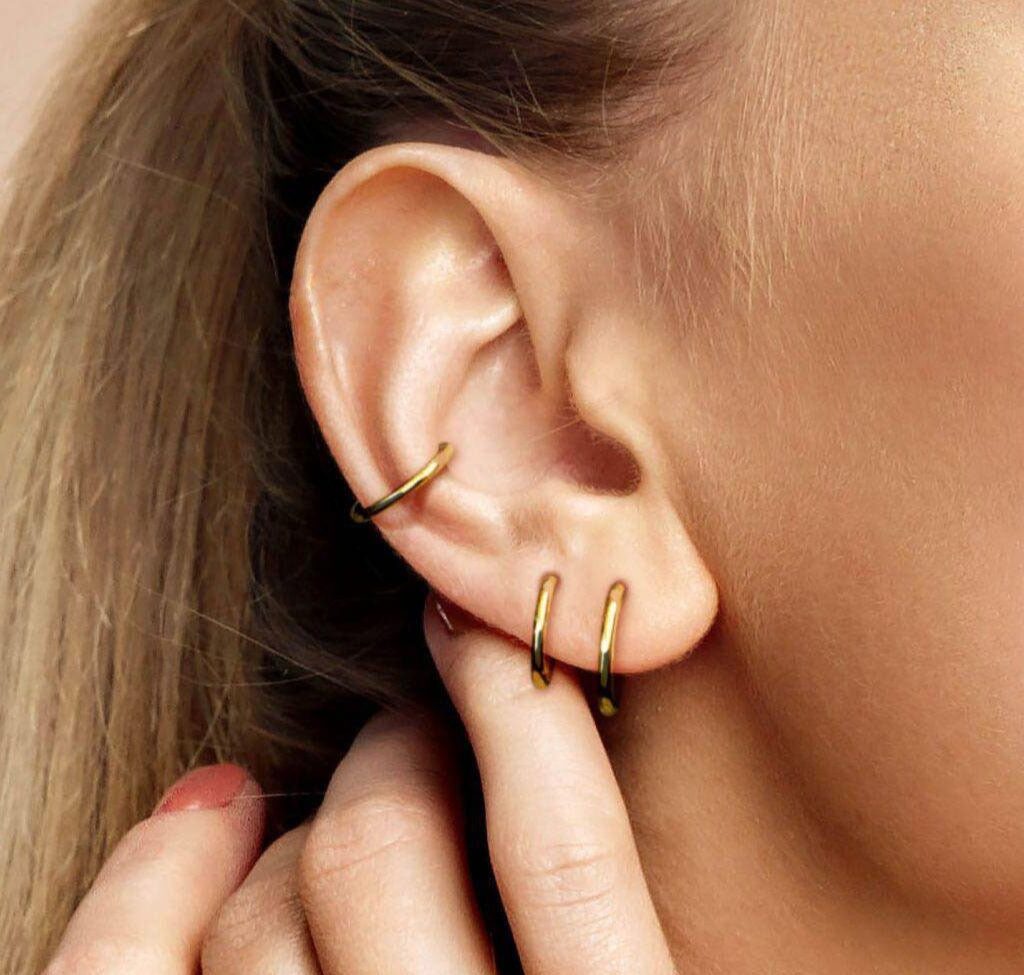
Jewelry Styles
Your piercer will likely use a stud or barbell for the initial piercing.
- Labret Stud: This is a stud with a flat back. It is comfortable and prevents poking.
- Barbell: A straight barbell allows for swelling. It is easy to clean around.
- Hoops: Hoops are not suitable for initial piercings. They move too much, which disrupts healing. You can switch to a hoop once the piercing is fully healed.
Risks and When to See a Professional
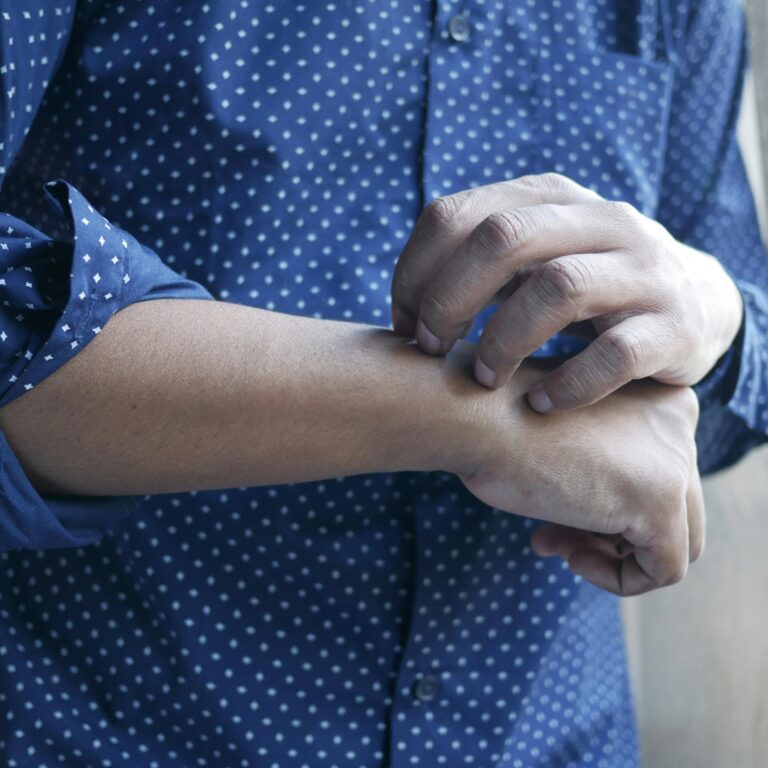
All piercings carry some risk. Cartilage piercings have a slightly higher risk of infection compared to lobe piercings. Knowing the warning signs is important.
Potential Complications
- Infection: Signs include severe pain, thick yellow or green discharge, and a hot feeling. You might also have a fever.
- Swelling: Some swelling is normal. Excessive swelling that does not go down needs attention.
- Piercing Bumps: Keloids, pustules, or irritation bumps can form. These require specific care.
- Allergic Reaction: Redness, itching, and rash around the piercing can signal a metal allergy.
When to Get Help
See your piercer or a doctor if you suspect an infection. Do not remove the jewelry from an infected piercing. This can trap the infection inside. A professional can provide the right advice. If you experience fever, chills, or red streaks from the piercing, seek medical help immediately.
Conch Piercing Cost
The cost of a conch piercing varies. It depends on the studio’s location and the piercer’s experience. You can expect to pay between $40 and $80 for the piercing service. This price usually does not include the jewelry. The cost of your initial conch jewelry can range from $30 to over $100. Investing in a quality piercer and jewelry is worth it for your health.
Conclusion
A conch piercing is more than just an accessory. It is a commitment to a long healing journey. The result is a beautiful statement that is truly your own. Each ear is a unique canvas. Your conch piercing becomes a focal point tailored to your anatomy. By choosing a skilled piercer, practicing diligent aftercare, and being patient, you earn your piercing. It becomes a permanent mark of your personal style and the care you invested in it.